Transferring photos from your iPhone to a computer is essential for backing up precious memories, freeing up device storage, or organizing your collection. While there are many ways to achieve this, iMyFone D-Back offers a seamless and efficient solution, especially when traditional methods fall short.
Originally designed for data recovery, iMyFone D-Back also provides a user-friendly interface for securely transferring your photos without hassle. In this guide, we'll walk you through the process of transferring photos from your iPhone to your computer using iMyFone D-Back, ensuring your images are safely stored and easily accessible.
The download file is available via above link. Double click the file to start the installation after download is completed. The entire process is just as simple as installing apps you have done many times before.
Note: We will take Windows version for example. The interface is the same on Mac.
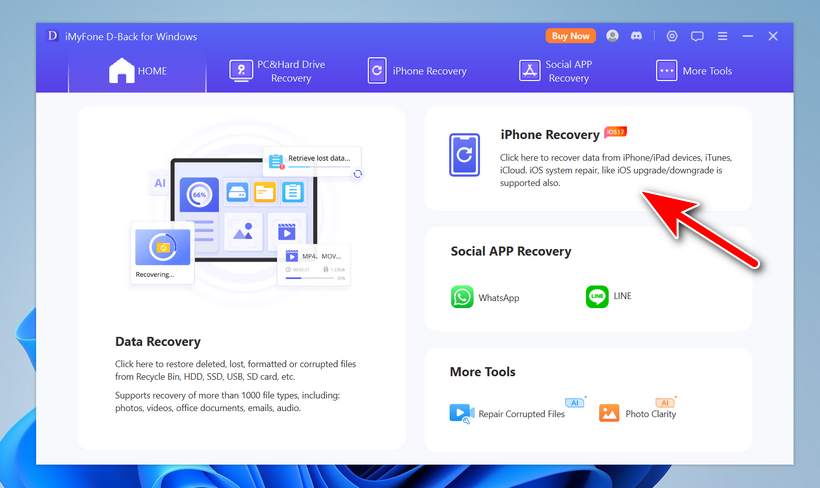
Connect your iPhone to the computer and make sure it can be detected by the computer. Now, open D-Back software from the desktop shortcut and click the 'iPhone Data Recovery' from the top.
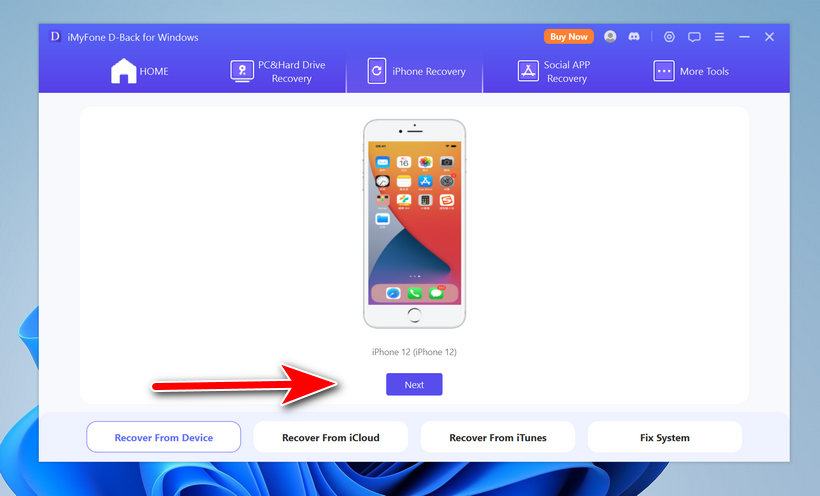
When you select the iPhone Data Recovery option, it will go to a new window. And you can see your iPhone is shown up on the screen. Click the 'Next' button to process.
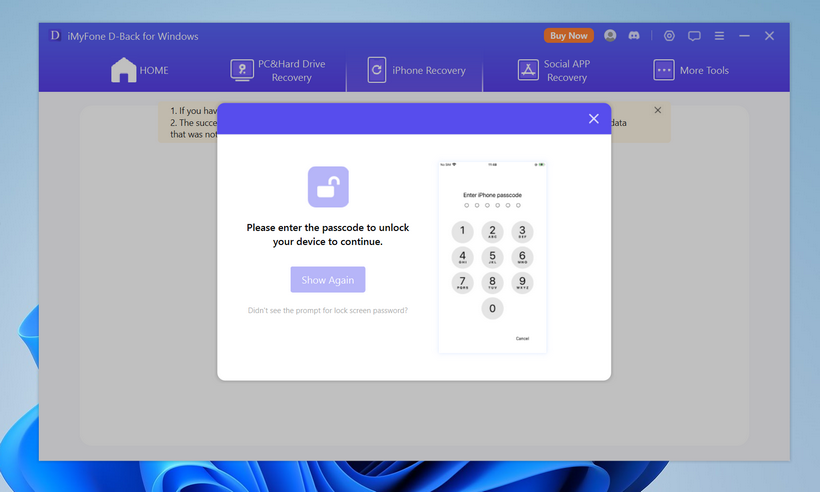
To grant the permission for accessing text messages on your iPhone, you need to enter the lockscreen passcode to proceed. Please do as it asks..
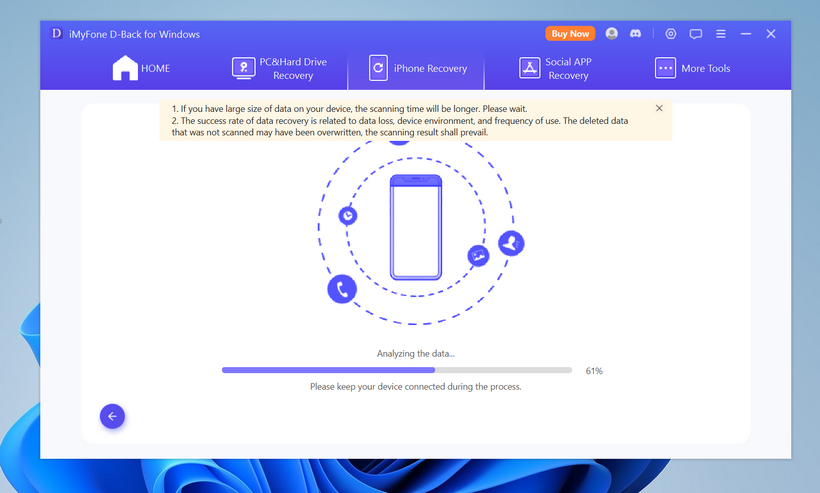
Once you have the right permission to iPhone, D-Back software will start scanning personal data on this device. This will take a few minutes.
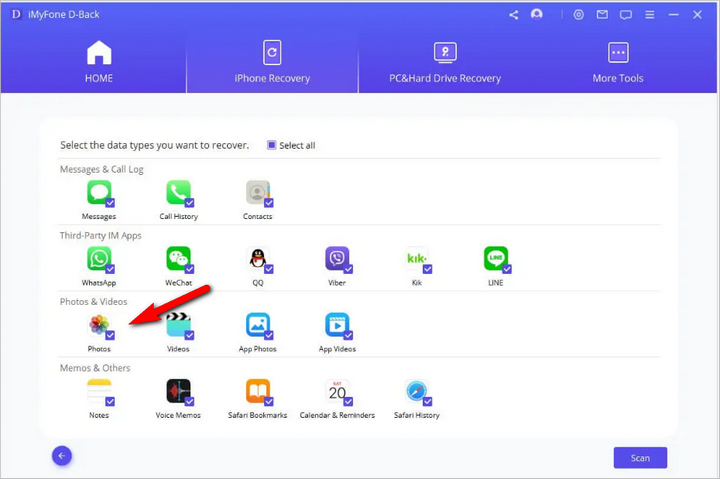
After the device scanning, D-Back lists all the available data types that you can export to the computer. In here, we only choose 'Photos'.
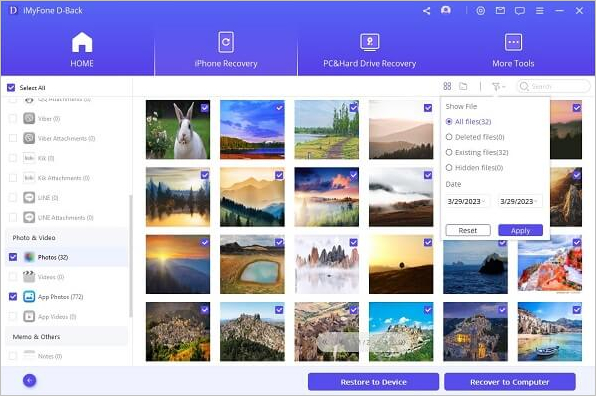
All messages and attachments will be listed on the screen. Please preview and select the messages you want to transfer. Next, click the 'Recover to Computer' button for transferring messages to computer.
iMyFone D-Back simplifies the process of transferring photos from your iPhone to your computer, making it an ideal choice for users who value efficiency and reliability. Whether you're looking to back up your photo library, clear space on your device, or simply organize your memories, this tool offers a straightforward and effective solution. By following the steps in this guide, you can ensure your photos are securely transferred with minimal effort. Discover the convenience of iMyFone D-Back and take control of your photo management today!