One of the latest issues by countless iTunes users is that when they backup the iPhone with iTunes, an error occurs saying iTunes could not backup the iPhone. Possible reasons included:
I know that for most Apple users, iTunes is the best solution to backup and restore their iOS devices because it is safe and reliable to get your job done. But like we mentioned, the above errors are occurring too many times for vast majority of iTunes users. Usually, iTunes shows those types of errors under 2 different scenarios – When backing up the iPhone or when you are trying to restore your iPhone with iTunes.
This error could occur in any iPhone model like iPhone 5/6/7/8/X and even with iPads and iPods. So, in this article, we will show you how to dismiss this issue forever, so that you can peacefully backup or restore your iDevice with iTunes flawlessly. So, let's get started with the solutions!
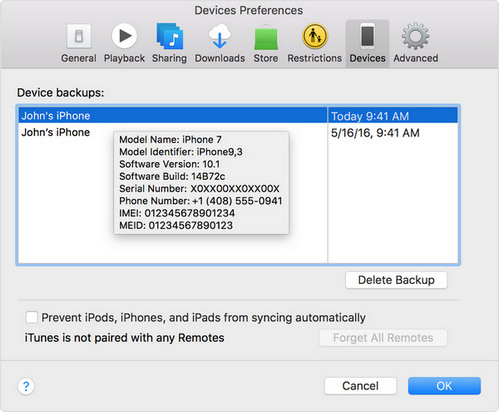
The first thing that you could do to fix this error is to delete the corrupted iTunes backup file using iTunes itself. To do that, first start iTunes on your computer and click on "Devices". Next find the device in the backup listing followed by search the incompatible backup file. Now, simply click on "Delete Backup" button and you are done!
Now, you can freshly backup your iPhone again and then backup on your new device. It should not show the same error again.
The second way to dismiss this issue is by manually deleting the backup file from your computer. All iTunes backup files are stored in your computer or laptop firstly. But you will need to know the exact location where the iTunes backups are saved.
Windows XP: \Documents and Settings\(username)\Application Data\Apple Computer\MobileSync\Backup\
Windows 10/8/7/Vista: \Users\(username)\AppData\Roaming\Apple Computer\MobileSync\Backup\
OS X and macOS: ~/Library/Application Support/MobileSync/Backup/
Now, simply go to these locations on your respective computer and delete the corrupted iTunes backup file.
Then download the latest version of iTunes software and install it. This should fix 90% of the issue. However, if the error continues, please move to Part 2.
The ultimate way to fix this issue is to take help from a third-party iTunes repairing software, which can resolve this issue without deleting anything from computer or iDevice. To our knowledge, only this iTunes Repair software can fix such kind of iTunes issue. If your iTunes was having any error or reports of unknown issues then it is the perfect tool to get it solved without losing any data.
What's best about iTunes Repair is that it can automatically search and detect the problem and fix it itself without any notice. All you have to do is download the program and let the software automatically locate the potential issue with iTunes. That's correct, you don't need to manually do anything to fix the issue. Other similar issues can also be fixed, such as iTunes can't connect to iPhone, iTunes not detecting iPhone, etc.
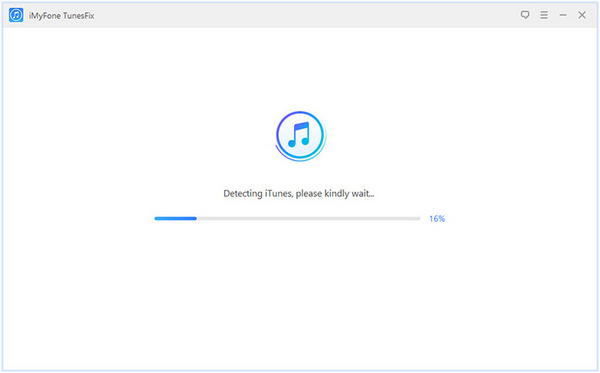
First, you need to install the program and launch the software normally. Once you start the program, it will automatically detect the iTunes and all the related components.
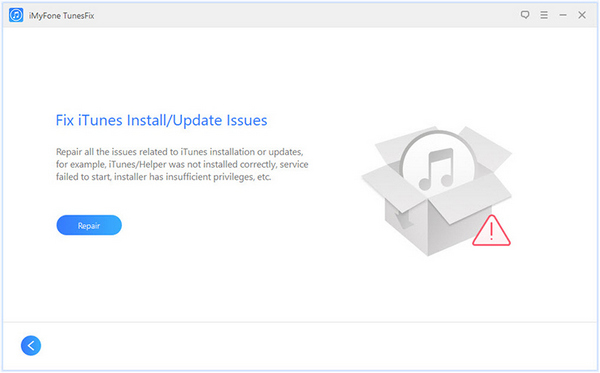
Once the iTunes backup is detected, it will show as "Your iTunes is Damaged!". So, all you have to do is click on "Repair" button; then let the software do rest of the work for you.
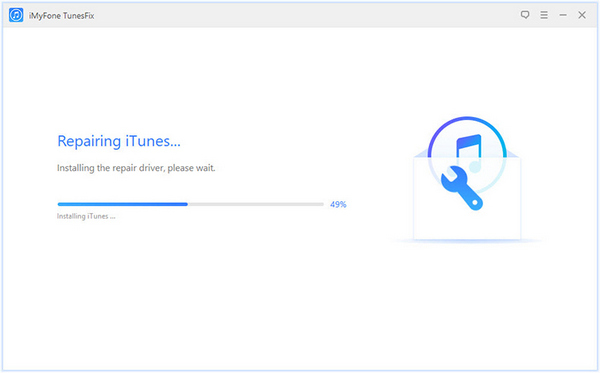
After clicking on "Repair" button, leave the computer alone for a few minutes and relax. Just make sure, iTunes is connected to a stable network then sit back. You can also track the progress in real time like the below screenshot.
After the operation is successfully finished, the program will show the message with "iTunes Repair Succesfully!" Now, it is 100% sure that your problem is resolved.
We hope that you were able to fix this annoying issue forever and if you still face any problem related to iTunes in the future then remember TunesFix will be easily able to repair it even if you have no knowledge about computers at all. If you found this guide useful then share it as much as you can and if you are facing any other issues with your computer or smartphone then do let us know in the comments below.