Communication has been escalating through the smartphone technologies and there is an ever increasing knack for people to use new apps such as Viber to cut down on the cost. There are numerous ways through which texting has been made easy and the internet is facilitating such services. Now Viber is one such popular messaging platform being used by millions of people worldwide. You can send text messages and even make audio/video calls completely for free.
However, there comes a lot of information that gets stored in the Veber app after constant usage. Some of the messages are too important and losing it does not seem like an option to consider. However there can be a lot of ways through which you may just end up losing the data by accident. When it comes to restoring data, the first thing that comes to mind is the need of an external help and choosing it is the most crucial thing that needs to be considered.
Viber Message Recovery is extremely good at Viber message backup and restore. With the simple user interface, there is no need to gain extra technical knowledge to use the program. You can backup and restore Viber messages with ease in a straightforward method. Besides Viber, it can also recover Kik messages or other kind of deleted data from iPhone, iTunes backup or iCloud. So it is a full data recovery tool for all iOS users. It supports all types of iPhone, iPad and iPod.
Supported iOS Device: iPhone 7/6S/6/5S/5/4S/4, iPad Pro/Mini/Air and iPod Touch.
Recoverable Content: Viber Chat, Viber Messages, Viber Call History and Kik Message Attachment.
Click above button to download the installation file on a PC or Mac computer. The program runs well on both Windows and OS X. After installation, make sure open the program and the main interface is like this:
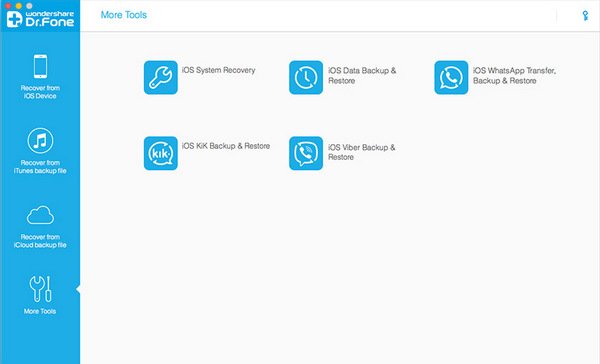
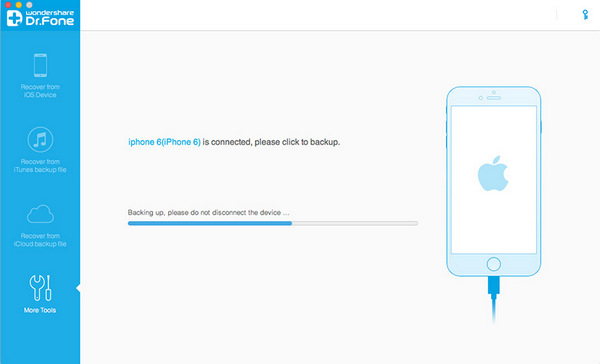
Connect your iPhone to the computer and allow it to be validated. 'IOS Viber Backup and Restore' is the option that you need to select, which is located at 'More Tools' section. The 'Backup' choice will appear automatically on the screen. Click on it and wait for the process to complete. Be patient and wait for the bar to complete till the end. Once it is done, you will be able to view the files that have been backed up.
When you accidentally deleted important Viber messages from iPhone, you need a way to restore them. Luckily, you can still use this program for data recovery. Please follow the steps in below to get back your lost Viber messages.
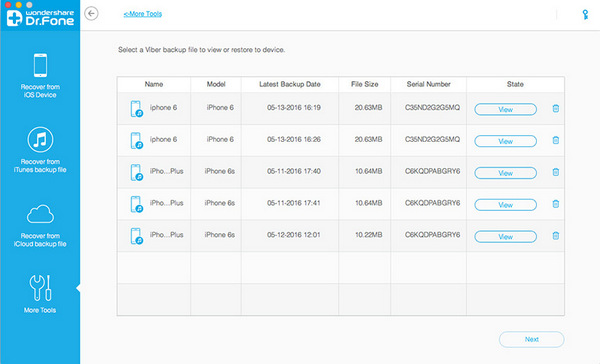
Please backup your Viber messages first by following the above tutorial. This is a must step you need go through. After backup, you can find the view option under the Backup button. Then all Viber backups will be shown on the screen.

The program will scan all the messages from that backup and present the result on the main screen. You can preview messages and attachments before recovery. You are free to decide making a full restore or only recovering the selected ones. At the end, please choose restoring the message to your device or exporting them to a computer. The options are listed at the bottom.
Currently, you can recover Viber messages, call history and attachments from your iPhone. Select the ones you wish to restore or you can select all of them. You can choose to restore them to iOS device or export to PC. The options are listed at the bottom of the program.

Whenever you are confronted with the idea of data backup and restore, you can do it right away with the app. There are no complications involved that is going to scare you. If you are a novice handling such restoration process for the first time, then you can do it with ease and most definitely without having to ask someone for help. If you have followed the steps properly and without missing any of the necessary guidelines in between, then there is no stopping you from getting the backup. The user interface is extremely easy to follow and understand. Once you have completed a particular step, the next viable option will automatically appear.